Installing satellite internet may seem complicated, especially for rural users or those new to this technology. However, with proper guidance, the process can be straightforward and ensures that you get reliable, high-speed connectivity. This guide will walk you through the installation process, equipment requirements, professional versus self-installation, and tips to optimize your satellite internet performance.
What You Need for Satellite Internet Installation
Before starting the installation, it’s important to understand the equipment and setup requirements.
1. Satellite Dish
- The dish communicates directly with orbiting satellites.
- Size varies by provider, but modern LEO systems like Starlink have compact, self-aligning dishes.
2. Modem/Router
- Connects the dish to your home network.
- Some providers combine modem and router in one device.
3. Mounting Equipment
- Poles, brackets, or roof mounts secure the dish.
- Stability is critical to prevent misalignment due to wind or other factors.
4. Cables and Power Supply
- Coaxial or fiber cables connect the dish to the modem.
- Ensure proper grounding to protect equipment from electrical surges.
5. Line of Sight
- Clear, unobstructed view of the sky is essential for reliable signal.
- Avoid trees, buildings, and tall structures in the dish’s path.
Steps for Satellite Internet Installation
Step 1: Choose the Installation Location
- Place the dish in an area with a clear line of sight to the satellite network.
- Flat rooftops, poles, or elevated ground are ideal.
- Consider weather exposure; ensure the dish can withstand wind and snow.
Step 2: Assemble the Dish
- Attach the mounting bracket securely.
- Install the dish according to the manufacturer’s instructions.
- Many modern LEO dishes automatically align themselves for optimal signal.
Step 3: Connect Cables
- Run the cable from the dish to the modem/router indoors.
- Ensure cables are secured and free of sharp bends to prevent damage.
Step 4: Power On the Modem/Router
- Connect the modem to a power source.
- Follow the provider’s setup instructions to link the modem to the satellite.
Step 5: Test the Connection
- Check signal strength and connection speed.
- Most providers have apps or tools to guide alignment and optimize the setup.
Step 6: Configure WiFi Network
- Set up your WiFi name (SSID) and password.
- Optimize placement of the router for full home coverage.
Professional vs Self-Installation
Professional Installation
- A trained technician handles mounting, cabling, and alignment.
- Ideal for users with complex roofs or limited technical experience.
- Ensures optimal performance from the start.
Self-Installation
- Many LEO providers like Starlink allow DIY setup.
- Guides, apps, and self-aligning dishes make installation simpler.
- Cost-effective but requires basic technical skills and time.
Tips for Optimal Satellite Internet Performance
1. Ensure Clear Line of Sight
- Trim trees or remove obstacles that may block the dish.
2. Stable Mounting
- Secure dish on a sturdy pole or roof bracket.
- Avoid areas prone to vibrations or strong winds.
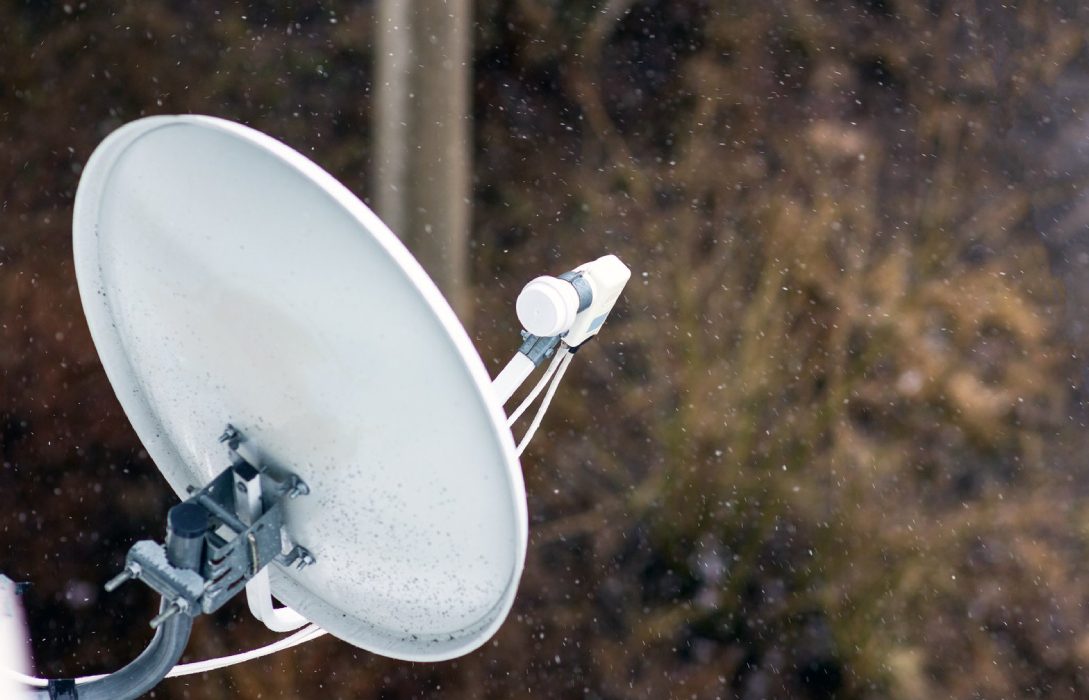
3. Weather Considerations
- Snow and ice can disrupt signals; consider dish heaters or covers.
4. Optimize Router Placement
- Central indoor location improves WiFi coverage.
- Avoid placing the router near metal objects or microwaves.
5. Regular Maintenance
- Clean the dish periodically to remove debris.
- Check cables and connectors for wear and tear.
Common Installation Issues and Solutions
1. Weak Signal
- Ensure the dish has an unobstructed view of the sky.
- Adjust alignment if using a GEO satellite or manual dish.
2. Slow Speeds
- Verify cables are correctly connected.
- Reduce simultaneous high-bandwidth usage.
3. Interference
- Metal structures or dense foliage can interfere with signal.
- Relocate dish or trim obstructions as needed.
4. Weather-Related Problems
- Snow or rain may temporarily reduce speed.
- Use protective covers and wait for clear conditions.
Installation Costs
- Hardware: $400–$600 for dish and modem (varies by provider)
- Professional Installation: $100–$300 (optional for DIY-capable systems)
- Monthly Subscription: $50–$150 depending on plan and provider
LEO systems often reduce installation costs with self-aligning dishes, making satellite internet more accessible.
Benefits of Proper Installation
- Maximizes download and upload speeds
- Reduces latency and signal drops
- Improves reliability during adverse weather
- Ensures long-term durability and safety of equipment
Conclusion
Satellite internet installation may appear complex, but with the right preparation, it is achievable for both professional and self-installation setups. Proper placement, equipment setup, and maintenance are key to achieving reliable, high-speed internet, especially in rural or remote areas.
By following these steps and tips, users can enjoy the full benefits of satellite connectivity for work, streaming, gaming, and staying connected no matter where they live.