A guest network allows visitors to access your WiFi without compromising your main network. It improves security, prevents unauthorized access to personal devices, and ensures your home network remains fast and reliable.
This guide provides a complete setup guide for a secure and efficient guest WiFi network.
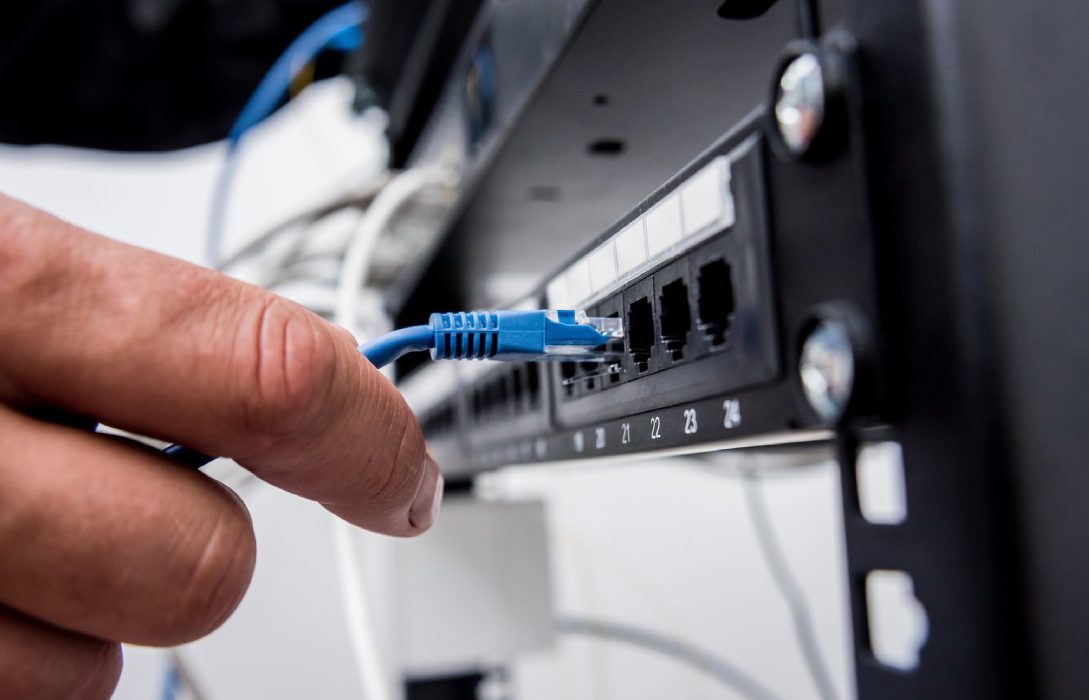
Step 1: Check Router Compatibility
- Most modern routers support guest networks, but check your router’s manual or settings
- Ensure the router firmware is up-to-date for security features
- Some mesh systems also allow guest network setup across all nodes
Tip: Older routers may not support separate guest networks, so upgrading could be necessary.
Step 2: Access Router Settings
- Log into your router’s web interface or app
- Navigate to Guest Network Settings
- Enable the guest network feature
Tip: The interface may vary by brand, so consult your router’s documentation if needed.
Step 3: Set a Unique Network Name (SSID)
- Give your guest network a different name from your main network
- Avoid including personal information or addresses in the SSID
- Keep the name simple and easy for guests to recognize
Tip: Avoid using “Guest WiFi” in crowded apartments, as multiple networks may have similar names.
Step 4: Create a Strong Password
- Use a unique and strong password for the guest network
- Include letters, numbers, and special characters
- Change the password periodically for security
Tip: Even though it’s for guests, a strong password prevents unauthorized access from neighbors or hackers.
Step 5: Limit Guest Access
- Enable restrictions to prevent guests from accessing personal files, printers, or smart home devices
- Most routers have a network isolation or client isolation feature for this purpose
- Set limits on bandwidth usage if your router allows
Tip: Isolation ensures guests can only access the internet, protecting your personal devices.
Step 6: Set Network Duration and Limits
- Some routers allow you to set expiration times for guest access
- Limit daily usage or total connected devices if needed
- Useful for managing bandwidth and maintaining network performance
Tip: Temporary passwords or time-limited access prevent long-term unauthorized use.
Step 7: Optimize Frequency Band
- Assign guests to the 2.4 GHz band if available, leaving 5 GHz for main devices
- For high-speed access, allow dual-band for guest devices that support 5 GHz
Tip: Separating bands helps maintain speed and reduces congestion on your main network.
Step 8: Monitor Guest Network Usage
- Check connected devices regularly
- Remove unknown or inactive devices
- Monitor bandwidth usage to prevent network slowdowns
Tip: Some routers provide apps for real-time monitoring and alerts.
Step 9: Secure the Guest Network
- Enable WPA3 or WPA2 encryption
- Disable guest network when not in use, if your router allows
- Keep firmware updated to maintain security
Tip: Treat your guest network with security in mind to prevent potential vulnerabilities.
Step 10: Educate Guests
- Provide the network name and password clearly
- Explain that they have internet-only access
- Advise not to share the password publicly
Tip: Proper instructions ensure guests connect easily without affecting your main network.
Advanced Guest Network Tips
- VLAN Segmentation: Separate traffic for better security and performance
- Bandwidth Prioritization: Prevent guest devices from slowing your main network
- Access Scheduling: Automatically enable or disable the guest network during specific hours
- Device Limits: Restrict the number of devices allowed simultaneously
Conclusion
Setting up a guest network is a simple yet powerful way to protect your main network while providing internet access to visitors. By creating a unique SSID, using strong passwords, enabling isolation, and monitoring traffic, you can maintain security, privacy, and optimal performance for all devices.
A well-configured guest network ensures peace of mind, reliable WiFi, and a better experience for both you and your guests.